Connecting a projector is usually straightforward once the video ports, cable type, and display mode are identified. Most connection problems come from using the wrong input, an adapter that does not support video, or incorrect laptop display settings rather than from the projector itself.
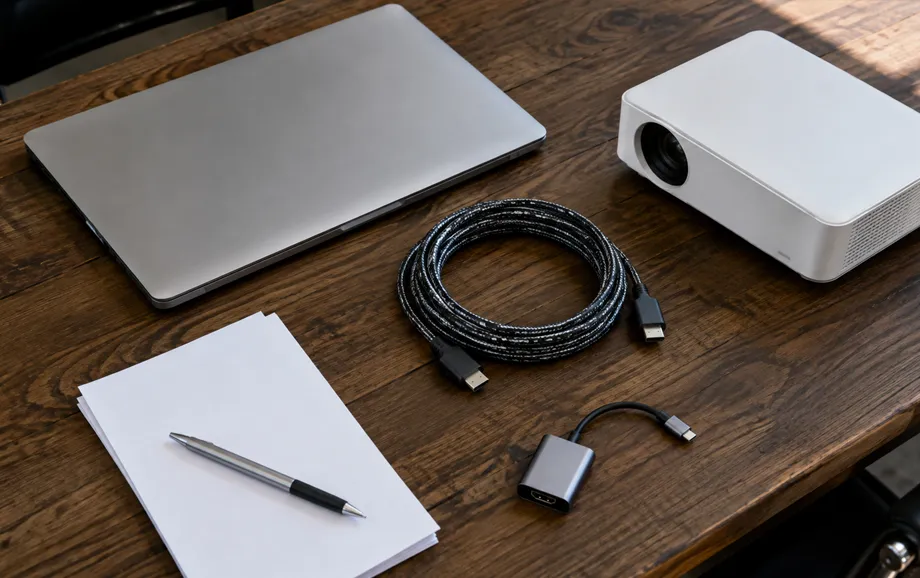
This projector connection guide explains the complete process for Windows and macOS, from choosing the correct cable to setting up an extended desktop for presentations. It is also a practical projector setup for beginners who need a reliable configuration for a church, classroom, meeting room, or event space.
What You Need to Connect a Projector to a Laptop
Before connecting anything, check which video outputs are available on the laptop and which inputs are available on the projector. The physical connector determines whether a direct cable is enough or an adapter is required.
A basic setup normally needs five components:
a laptop with HDMI, USB-C, Thunderbolt, or VGA video output;
a projector with a compatible input;
the correct video cable;
an adapter or dock when the connectors do not match;
a power source for both devices.
For anyone searching for how to connect projector to laptop instructions, the most important detail is that the connector shape alone does not always confirm video compatibility. USB-C is the clearest example: some ports and cables carry data or charging only, while others support display output. (benq.com)
Check Your Laptop and Projector Ports
Before switching on the presentation, inspect both devices. Modern laptops commonly use HDMI or USB-C, while older projectors may still rely on VGA. Wireless projection is available only when both the projector and the laptop support a compatible wireless method or additional receiver.
Understanding the interface first makes it much easier to connect laptop to projector without unnecessary adapters.
HDMI Connection
HDMI is usually the simplest wired option because one cable can transmit digital video and audio. Epson’s current projector documentation confirms that an HDMI connection can carry the source image and its audio to a compatible projector. (epson.com)
Connect one end to the laptop’s HDMI output and the other to the projector’s HDMI input. If the laptop has USB-C but no HDMI port, use a compatible USB-C-to-HDMI adapter.
VGA Connection
VGA is an analogue video interface found mainly on older equipment. It can still provide a usable presentation image, but it does not carry audio. If sound is required, a separate 3.5 mm audio cable or another audio path must be configured.
VGA is best treated as a compatibility option rather than the first choice for modern high-resolution presentations.
USB-C Connection
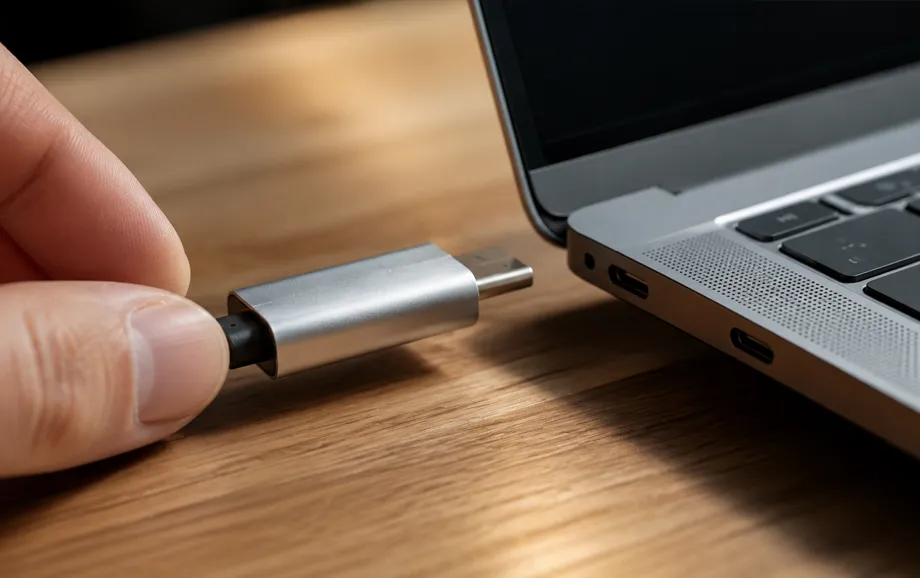
Many current Windows laptops and Mac computers can output video through USB-C or Thunderbolt. Apple confirms that supported USB-C and Thunderbolt ports can connect a Mac to an external display or projector, directly or through an appropriate adapter. (apple.com)
Do not assume that every USB-C cable supports video. Check the laptop specification and use a cable or adapter rated for display output.
Wireless Projector Connection
Wireless projection removes the physical video cable, but compatibility depends on the projector. Windows 11 can connect to compatible wireless displays through the Windows + K interface. (microsoft.com)
Some projector manufacturers use their own applications or network configuration. Epson, for example, provides wireless projection through its network settings and iProjection workflow. (epson.com)
For time-sensitive presentations, a wired HDMI connection is generally easier to diagnose if something goes wrong.
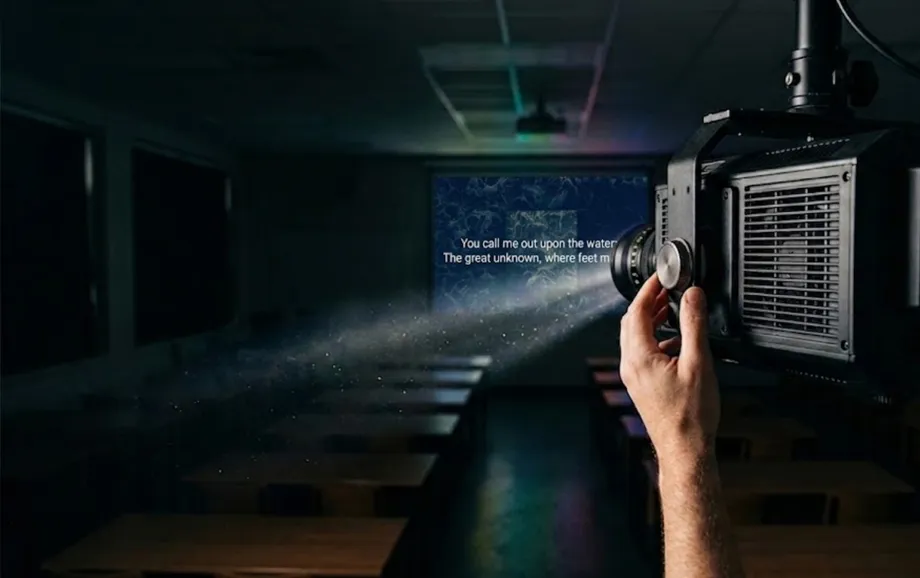
How to Connect a Projector to a Laptop Step by Step
The safest way to learn how to connect a projector to a laptop is to treat the setup as a signal chain: projector power, physical connection, input selection, laptop display mode, and final image check.
Follow the stages in this order rather than changing several settings at once.
Step 1: Turn On the Projector
Connect the projector to power and allow it to complete its startup sequence. Some models need several seconds before their input menu becomes available.
If the projector has several HDMI ports, note which one will be used.
Step 2: Connect the Cable
Insert the cable firmly at both ends. When an adapter or USB-C dock is involved, make sure it supports video output rather than charging or data alone.
For a straightforward setup, direct HDMI is preferable when both devices provide HDMI ports because it reduces the number of possible failure points.
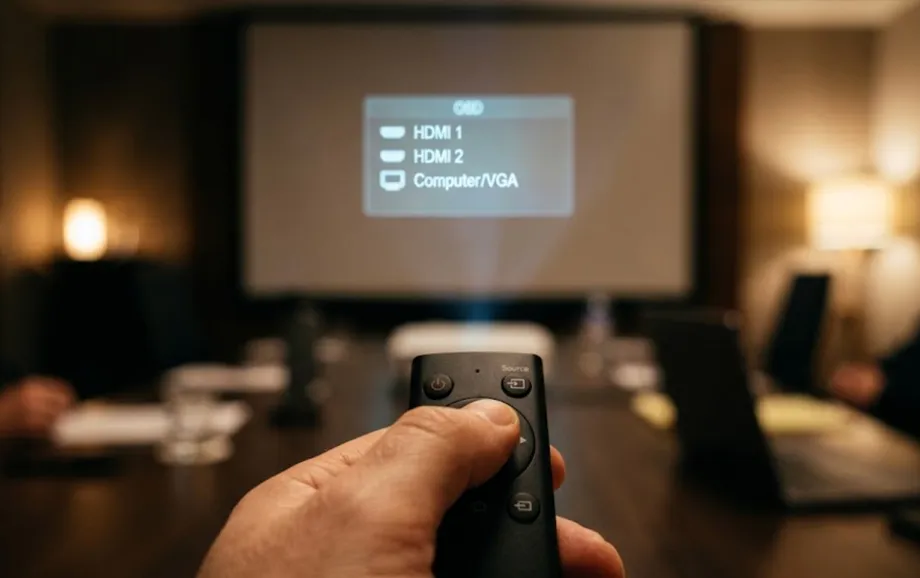
Step 3: Select the Correct Input Source
Use the projector’s remote control or source button to select the port used by the laptop, such as HDMI 1, HDMI 2, Computer/VGA, or the relevant wireless source.
A projector can be physically connected correctly and still show “No Signal” simply because another input is active.
Step 4: Adjust Laptop Display Settings
On Windows 11, press Windows + P. Microsoft provides four display modes: PC screen only, Duplicate, Extend, and Second screen only. Extend creates a larger desktop across both displays, while Duplicate shows the same content on each screen. (microsoft.com)
On a Mac, open System Settings and use Displays to configure the external screen. Apple supports external projectors through compatible HDMI, USB-C, and Thunderbolt outputs on supported Mac models. (apple.com)
Step 5: Test the Projector Image
Open the actual presentation rather than relying on the desktop alone. Check text size, image sharpness, colour, aspect ratio, video playback, and sound.
A complete projector setup for beginners should also include a test from the back of the room. Text that looks large on a laptop can be difficult to read once projected across a large space.
How to Set Up Multiple Displays on a Laptop
For presentations, extended desktop mode is usually more useful than screen mirroring. The laptop can keep notes, controls, or a presentation dashboard on its own display while the projector shows only the audience content.
On Windows, select Extend through Windows + P. PowerPoint can use an extended display so the presenter sees notes while the audience sees the slideshow. (microsoft.com)
A reliable multiple-display workflow requires three checks: confirm which screen is primary, arrange the displays in the operating system to match their physical positions, and verify that the presentation window opens on the projector rather than the laptop.
This is particularly useful when learning how to set up a projector for worship presentation software, conferences, or teaching, because the control interface can remain private.
How to Fix Common Projector Connection Problems
When a connection fails, troubleshoot the signal path systematically. Replacing random settings often makes diagnosis slower.
The most useful principle in this projector connection guide is to check the source, cable, input, display mode, and supported resolution separately.
Projector Says No Signal
First confirm that the projector is set to the same input used by the cable. Then reconnect both ends and test another known-good cable if possible.
If HDMI remains blank, verify that the laptop is sending a resolution and refresh rate supported by the projector. BenQ also recommends checking HDMI EDID compatibility on models that provide that setting. (benq.com)
Laptop Does Not Detect Projector
On Windows, open Display settings and use the display-detection tools after reconnecting the cable. On macOS, check Displays and confirm that the adapter actually supports video output.
If a dock is being used, temporarily connect the laptop directly to the projector. This isolates the dock as a possible cause.
No Sound Through Projector
HDMI can carry audio, but the laptop may continue using its internal speakers. Open the operating system’s sound-output settings and select the HDMI projector or connected audio device.
VGA cannot transmit sound, so a separate audio cable or sound system is required.
Poor Image Quality
Check the laptop’s output resolution and compare it with the projector’s native or supported resolution. Incorrect scaling can make text soft or distort the aspect ratio.
Cable quality also matters over longer HDMI runs. For demanding installations, active or optical HDMI solutions may be more reliable than extending a conventional passive cable far beyond its intended range.
How to Connect a Projector for Presentations
A presentation setup should be tested differently from a simple movie connection. The operator often needs private controls while the audience sees a clean full-screen output.
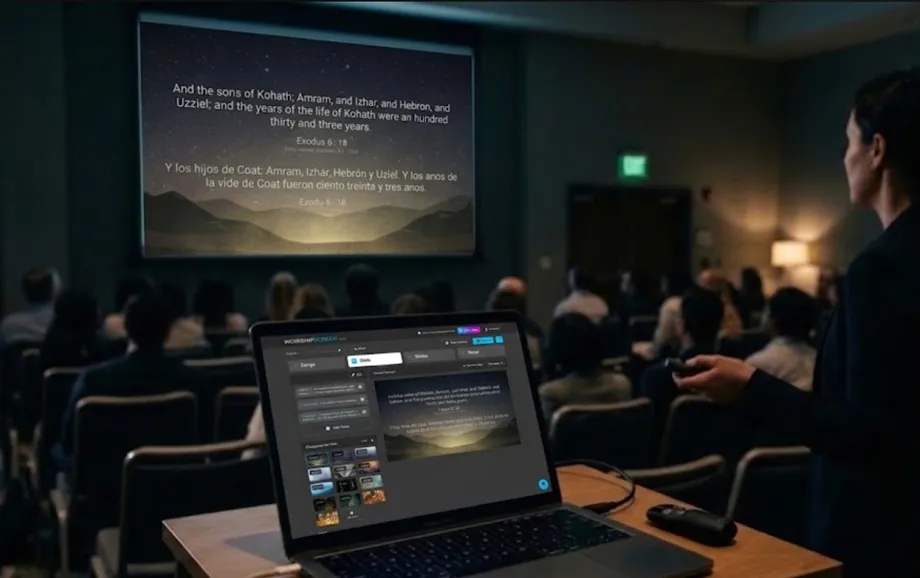
When following how to connect projector to laptop instructions for a service or event, extended desktop mode is usually the practical choice. Presentation software can remain on the laptop while the live output is placed on the projector.
For church use, this arrangement is particularly useful with browser-based tools such as WorshipScreen: the operator dashboard can remain on the computer while the live presentation is moved to the congregation display.
Before the event, test the actual slides, videos, audio, and web content. This is the final technical step when learning how to set up a projector for dependable live use.
Final Tips for First-Time Projector Setup
Anyone learning how to connect a projector to a laptop should keep the first configuration simple. Use a direct wired connection where possible, avoid unnecessary adapters, and test every component before the room is occupied.
Keep a spare HDMI cable and the required USB-C adapter with the presentation equipment. Label projector inputs when several ports are used, and save the correct display mode on the laptop where possible.
Once the connection is stable, document the working setup for other operators. A short note explaining which cable to use, which projector input to select, and whether the laptop should be in Extend or Duplicate mode can turn a difficult first-time projector setup into a repeatable routine.