A “No Signal” message usually means the projector is powered on but is not receiving a valid video signal from the laptop or other source device. The fault can occur anywhere in the connection chain: the cable, adapter, selected input, operating-system display settings, graphics driver, or supported resolution.
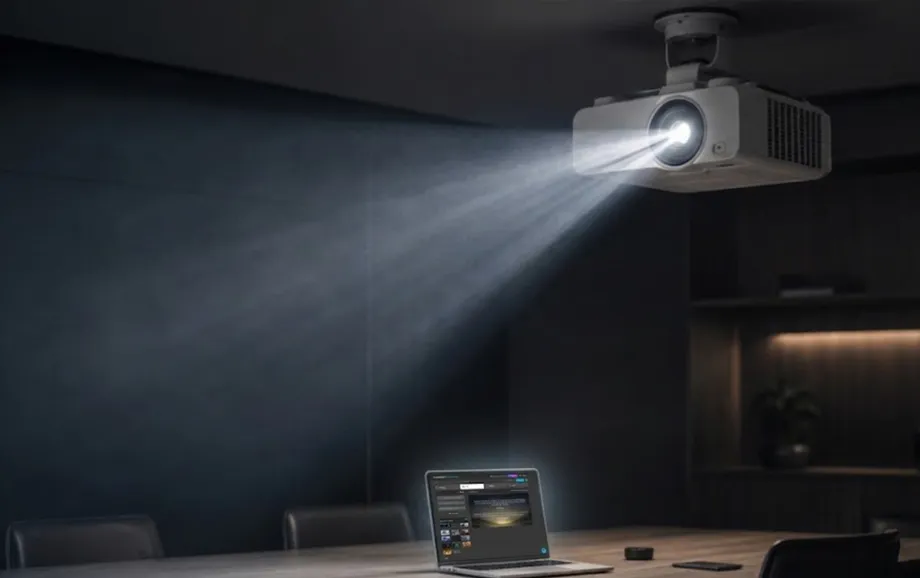
The quickest way to fix projector no signal is to troubleshoot one part of that chain at a time. This guide explains the process for HDMI, VGA, USB-C, Windows, and macOS without changing several settings at once.
Why Does a Projector Say No Signal?
A projector displays “No Signal” when it cannot detect a usable input on the selected source. That does not necessarily mean that the projector itself is faulty. Epson recommends checking the selected source, testing another video cable, shortening the HDMI connection where possible, and connecting the source directly to the projector when troubleshooting this message.
A typical projector connection problem comes from one of five areas:
the wrong projector input is selected;
the cable or adapter does not carry a valid video signal;
the laptop is not outputting to the external display;
the resolution or timing is unsupported;
an intermediate dock, switcher, or extender interrupts the signal.
Working through these causes in order is more efficient than repeatedly restarting devices without identifying the failing part of the setup.
Check the Projector Connection
The physical connection should be checked before changing software settings. A loose connector, incompatible adapter, or damaged cable can produce the same projector no signal message as an operating-system problem.
Check HDMI, VGA, or USB-C Cable
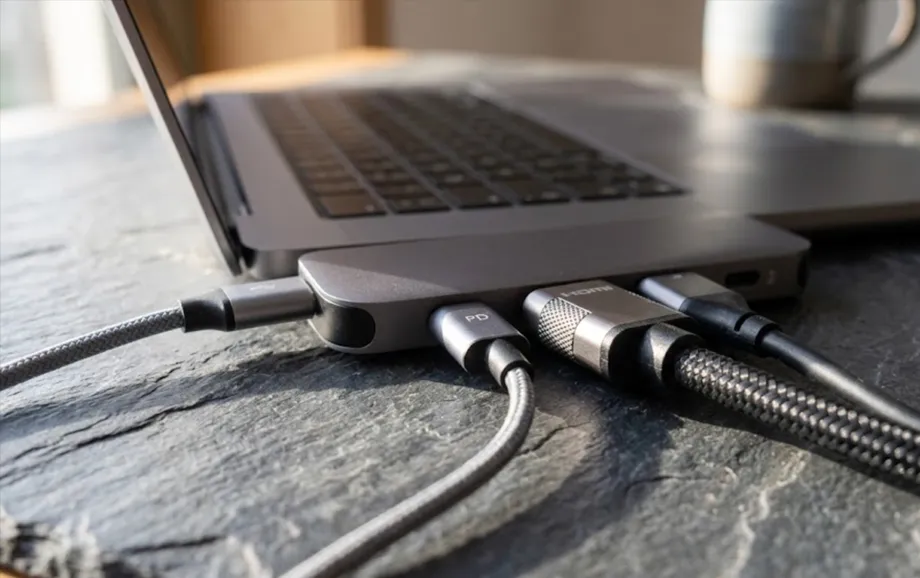
HDMI carries digital video and usually audio, while VGA carries analogue video only. USB-C can carry video only when the laptop port, cable, and adapter support display output.
With USB-C in particular, a cable that works for charging or data transfer is not automatically suitable for a projector. The laptop specification should confirm whether the port supports DisplayPort Alt Mode, Thunderbolt, or another video-output standard.
Make Sure the Cable Is Connected Correctly
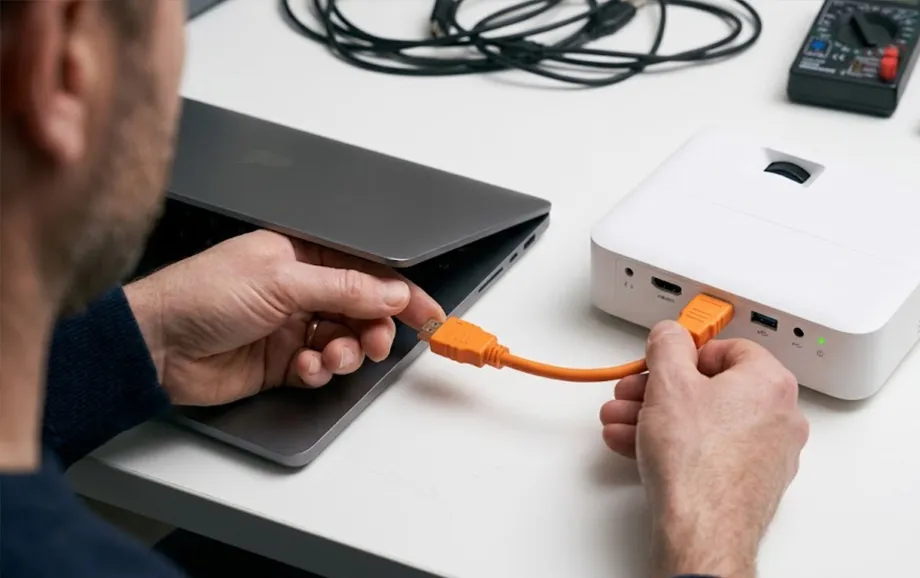
Push each connector firmly into the laptop, adapter, and projector. HDMI plugs can appear inserted while still being slightly loose, particularly when a heavy cable pulls downward from the projector port.
If the setup uses a dock or adapter, check each connection separately. For a laptop projector no signal problem, temporarily removing the dock and connecting the computer directly to the projector can quickly show whether the intermediary device is responsible.
Try a Different Cable or Port
Replace the cable with a known-good alternative and test another compatible port. Microsoft recommends trying another video output when an external display is not detected, while Epson specifically advises testing another cable and, for HDMI, connecting the source directly to the projector.
Long HDMI runs can also be harder to diagnose. Testing with a short cable near the projector is a useful way to separate cable-length issues from laptop or projector faults.
Select the Correct Projector Input Source
A perfectly connected laptop can still produce a “No Signal” message if the projector is listening to the wrong input. Most projectors have several sources, such as HDMI 1, HDMI 2, Computer/VGA, USB, or wireless input.
The selected source should match the physical connector used by the laptop.
Change HDMI or VGA Input
Use the projector remote or the Source/Input button to select the correct port. Epson recommends cycling through the available sources when a “No Signal” message appears.
If the cable is connected to HDMI 2, choosing HDMI 1 will not produce an image. The same principle applies to VGA or any other input.
Check the Projector Source Settings
Some projectors provide additional signal settings for HDMI compatibility. BenQ, for example, advises checking whether the projector’s HDMI EDID setting is compatible with the source device and whether the incoming resolution and timing are within the supported range.
These advanced settings should be changed only after basic source selection and cable testing have been completed.
Check Laptop Display Settings
Once the physical connection and projector input are correct, confirm that the laptop is actually sending an image to the external display. This is one of the most common situations associated with projector not connecting to laptop issues: the devices appear physically connected, but the screen remains blank.
The procedure differs slightly between Windows and macOS.
Windows Display Settings
In Windows, open Settings → System → Display. When more than one screen is detected, Windows numbers each display and allows them to be rearranged to match their physical positions.
The Windows + P shortcut also provides the main projection modes: PC screen only, Duplicate, Extend, and Second screen only. If the projector does not appear, use the display-detection options and then reconnect the cable if necessary.
Mac Display Settings
On a Mac, open Apple menu → System Settings → Displays. Apple also allows the user to hold the Option key to reveal the Detect Displays command when an external screen is not detected automatically.
Supported Macs can connect external displays through HDMI or Thunderbolt/USB-C ports, but the number of supported displays varies by Mac model.
Enable Duplicate or Extended Display Mode
Duplicate mode shows the same image on the laptop and projector. Extend mode treats the projector as a second workspace, which is usually better for presentation software because the operator can keep controls on the laptop while the audience sees only the presentation.
If a laptop projector no signal issue starts after changing display modes, return temporarily to Duplicate and verify that the projector receives a basic image before rebuilding the extended setup.
Restart the Laptop and Projector
Restarting both devices is useful after the cable, source, and display settings have been checked. It forces the laptop and projector to renegotiate the display connection and can clear a temporary HDMI handshake failure.
For a systematic restart, turn off the projector and laptop, disconnect the video cable, power both devices back on, and reconnect the cable after the operating system has loaded. Microsoft also recommends power-resetting an external display as part of connection troubleshooting.
A restart should not be the first troubleshooting step, but it is appropriate once basic connection errors have been ruled out.
Update Display Drivers
On Windows, outdated or damaged graphics drivers can prevent an external display from being detected correctly. Microsoft’s external-monitor troubleshooting guidance includes checking display connections and system configuration before escalating to driver-related fixes.
Use Windows Update or the laptop/GPU manufacturer’s official support tools rather than downloading drivers from unverified websites. After installation, restart the computer and test the projector again.
On macOS, display support is generally updated through macOS itself rather than through separate user-installed graphics drivers. If an external display stops working after a system change, check for current macOS updates and verify that the adapter remains compatible.
Common Projector Connection Problems
Not every failure presents in exactly the same way. The location of the fault can often be narrowed down by observing whether the projector detects a source, whether Windows or macOS sees a second display, and whether any image appears before disappearing.
Projector Detects No Device
If the projector reports no connected source at all, begin with the physical chain. Confirm the input, test another cable, remove docks or extenders, and connect the source directly.
If HDMI is being used, also check whether the source resolution and timing are supported by the projector. BenQ specifically identifies unsupported signal timing and EDID compatibility as possible causes.
Laptop Does Not Recognize Projector
When the projector is powered on but the laptop does not show a second display, try another laptop output or adapter. Microsoft recommends testing another video output port when available.
On macOS, use Displays and Detect Displays. On Windows, use the display-detection controls and confirm that the projection mode is not set to the laptop screen only.
Projector Shows Black Screen
A black screen differs from a true “No Signal” message because the projector may already be receiving a valid signal. Check whether the laptop is using Second screen only, whether the presentation application has opened on another virtual display, and whether the source resolution is supported.
Also test the desktop outside the presentation software. If the desktop appears but the application remains black, the projector connection problem is probably inside the presentation configuration rather than the physical signal path.
Image Appears but No Signal Message Remains
If an image appears intermittently while “No Signal” continues to return, the connection may be unstable rather than completely absent. Test a shorter HDMI cable, connect the laptop directly, and avoid unnecessary adapters or extenders. Epson explicitly recommends a shorter HDMI cable and direct source connection in this situation.
A loose connector or unsupported resolution can create the same intermittent behaviour.
How to Prevent Projector Connection Problems
A reliable presentation setup is easier to maintain when it is standardised rather than rebuilt before every event.
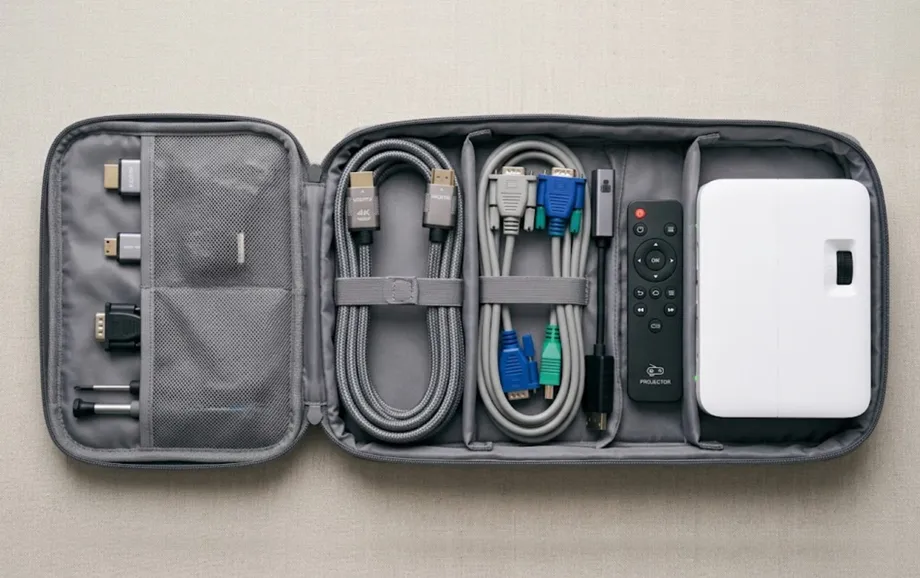
A few preventive measures reduce the risk of projector not connecting to laptop during a live presentation:
keep a tested spare HDMI cable and the correct USB-C adapter with the projector;
label projector inputs and cables so operators use the same signal path;
save the normal display mode and resolution on the presentation laptop;
test the complete setup after operating-system or graphics-driver updates.
For churches, conference rooms, and classrooms, it is also useful to document the normal startup sequence. A short note stating which input to select and whether the computer should use Duplicate or Extend can save several minutes when another operator takes over.
Final Tips for a Reliable Projector Setup
For users searching for how to fix projector no signal problem, the most effective method is to troubleshoot from the projector back toward the laptop: confirm the input source, cable, adapter, laptop display mode, resolution, and finally the software environment.
If the basic checks do not resolve the issue, test the projector with another source device and test the laptop with another external display. This isolates which side of the connection is failing.
For recurring projector no signal issues, avoid treating every failure as a software problem. In many cases, the cause is much simpler: the wrong source, a damaged cable, an incompatible USB-C adapter, or an unsupported output mode. A repeatable connection procedure is the best way to fix projector no signal quickly and keep the presentation system dependable.