Using two displays separates the operator’s workspace from the content shown to an audience. One screen can hold presentation controls, notes, media libraries, or upcoming slides while the second monitor, television, or projector shows only the live presentation.
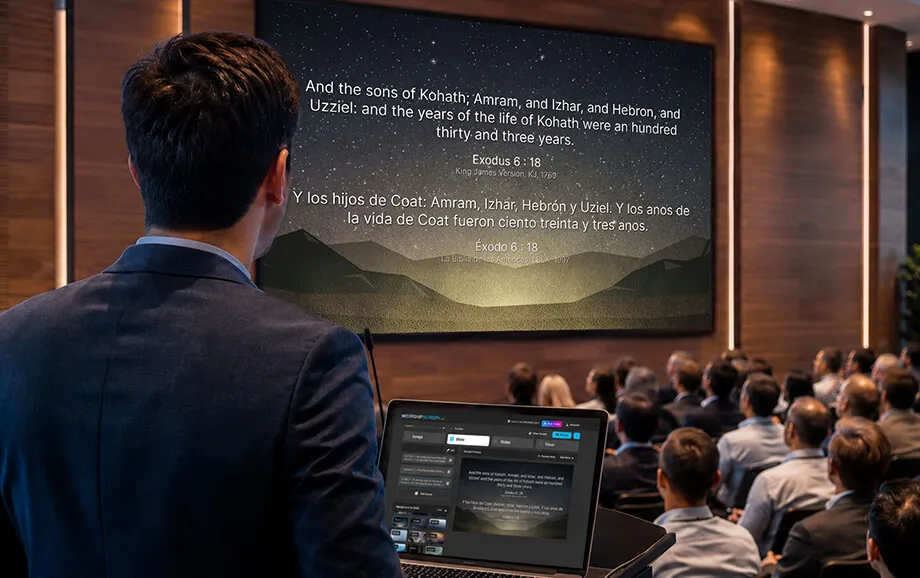
A reliable dual screen presentation setup starts with the physical connection and ends with correct Windows display settings. This guide explains how to set up dual monitors on Windows for presentations, including Extend and Duplicate modes, Presenter View, screen arrangement, and common connection problems.
Why Use Two Screens for Presentations
A single mirrored screen is sufficient when the presenter wants the audience to see exactly what appears on the laptop. For churches, conferences, classrooms, and professional presentations, however, two independent displays provide much more control.
With two screens for presentations, the operator can keep private information on the main computer while sending clean visual content to the audience. PowerPoint Presenter View, for example, can show the current slide, next slide, and speaker notes on one screen while the audience sees only the slideshow.
This separation also reduces the risk of exposing file windows, notifications, editing tools, or presentation controls during a live event.
What You Need to Connect Two Screens
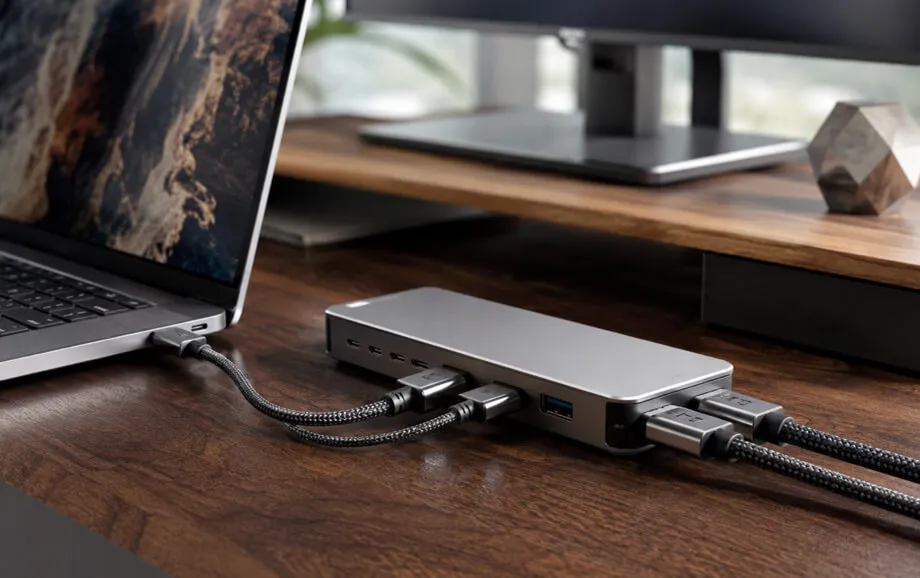
Before changing Windows settings, confirm that the computer can physically support the required number of displays. Laptops may provide HDMI, DisplayPort, USB-C, Thunderbolt, or video output through a compatible dock.
A basic Windows second monitor setup normally requires four elements:
a laptop or desktop computer with a suitable video output;
a second monitor, television, or projector;
a compatible HDMI, DisplayPort, or USB-C video cable;
an adapter or dock if the ports do not match.
USB-C deserves particular attention because not every USB-C port or cable carries video. The computer specification should confirm display-output support before an adapter is purchased.
How to Connect a Second Monitor on Windows
Physical connection comes first. Windows cannot configure a display if the computer is not delivering a valid signal through the selected video output.
For dual monitors Windows users, the simplest configuration is usually a direct HDMI or DisplayPort connection. Docks and adapters are useful when necessary, but each additional component creates another possible point of failure.
Connect the Monitor or Projector
Connect the second display to power, then attach the video cable to the computer and monitor or projector. If an adapter or docking station is required, connect it firmly and confirm that it supports video output.
Windows normally detects a connected display automatically. If it does not, the problem may be the cable, adapter, output port, or current projection mode.
Check Display Connections
Inspect both ends of the cable and make sure they are fully inserted. If possible, test the connection without a dock or converter to determine whether an intermediate device is causing the issue.
For a stable Windows second monitor setup, it is useful to test three components separately:
the second screen with another source device;
the computer with another display;
the video cable with equipment known to work.
This method isolates the faulty part much faster than repeatedly changing software settings.
Select the Correct Input Source
A monitor or projector with several HDMI or DisplayPort inputs must be set to the same input used by the computer. A correctly connected HDMI 2 cable will still show “No Signal” if the display is set to HDMI 1.
Use the Source or Input control on the monitor or projector before moving to Windows configuration.
How to Configure Dual Displays in Windows Settings
Once both screens have a working physical connection, Windows controls how they behave together. Microsoft supports four main projection modes: PC screen only, Duplicate, Extend, and Second screen only.
For most Windows multiple displays workflows, Extend is the preferred option because each screen becomes an independent part of the desktop.
Open Display Settings
Open Settings → System → Display. Windows shows detected displays as numbered rectangles. Select Identify if it is unclear which number represents the laptop screen and which represents the projector or external monitor.
The rectangles can be dragged so their arrangement matches the physical position of the screens. Correct arrangement prevents the mouse pointer from moving in an unexpected direction between displays.
Choose Extend or Duplicate Display Mode
Press Windows + P to open the projection menu. Microsoft provides four options:
PC screen only;
Duplicate;
Extend;
Second screen only.
Duplicate shows the same content on both screens. Extend creates a larger desktop and allows windows to move independently between displays. For a dual screen presentation setup, Extend is usually the better choice because presentation controls remain private.
Select the Main Display
In Display settings, select the screen that should contain the taskbar, desktop controls, and primary application windows. The presentation software can then send its audience output to the second display.
Choosing the correct primary monitor simplifies dual monitors Windows operation because new windows and control interfaces are more likely to open where the operator expects them.
How to Use Presenter View with Two Screens
PowerPoint Presenter View is designed specifically for two screens for presentations. Microsoft states that the presenter can see the current slide, next slide, and speaker notes on one display while the audience sees only the full-screen presentation on the other.
Connect both displays and set Windows to Extend. In PowerPoint, open the Slide Show tab and enable Use Presenter View. Select the appropriate monitor if necessary, then start the slideshow.
If Presenter View appears on the wrong screen, PowerPoint provides a Swap Displays function. Newer versions can also configure Presenter View automatically once two displays are connected.
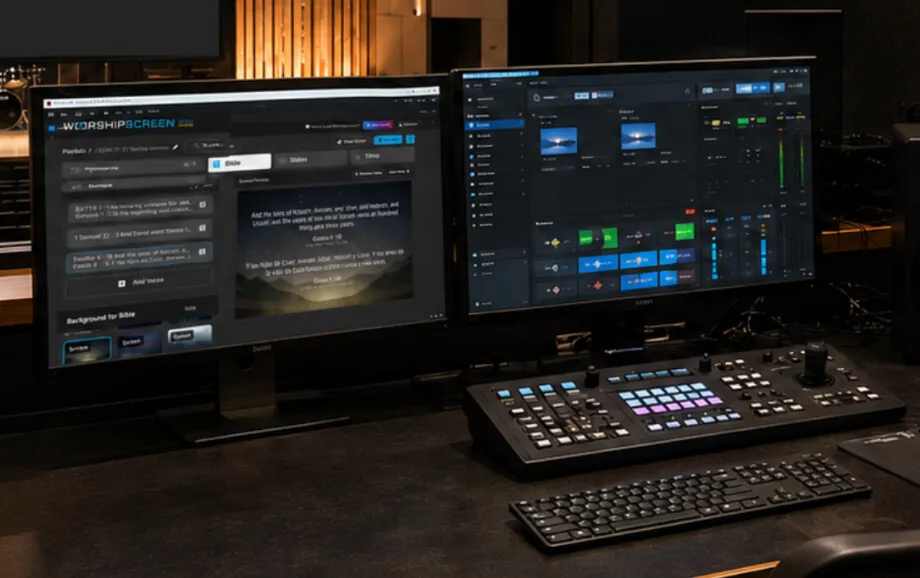
The same principle applies to church software. WorshipScreen can keep its control interface on the operator’s display while the separate live presentation is placed on the screen seen by the congregation.
Common Problems When Setting Up Two Screens
Most display problems can be traced to the physical signal path, Windows projection mode, resolution, or incorrect screen arrangement. Troubleshoot one layer at a time rather than changing several settings simultaneously.
Second Screen Is Not Detected
First press Windows + P and confirm that Extend is selected. Microsoft also recommends disconnecting unnecessary docks, dongles, adapters, and other accessories when an external monitor is not detected.
Then reconnect the cable and test another output port or cable if available.
Wrong Screen Resolution
Each display should normally use a resolution supported by that device. Open Settings → System → Display, select the affected screen, and check Display resolution and Scale.
Using an inappropriate resolution can produce soft text, incorrect scaling, or an image that does not fill the projector or monitor correctly.
No Signal on Second Display
A “No Signal” message usually indicates that the display is not receiving usable video from the computer. Confirm the input source first, then check the cable, adapter, output port, and Windows + P mode.
If a dock is involved, connect the display directly to the computer temporarily. This helps determine whether the Windows multiple displays problem is being caused by the dock rather than Windows itself.
Display Order Is Incorrect
When the mouse moves left while the second monitor is physically on the right, the screens are arranged incorrectly in Windows.
Open Display settings and drag the numbered display rectangles into their real physical order. Select Apply and test cursor movement again.
Best Settings for Church and Presentation Software
For church presentations, conferences, and live events, Extend mode is usually more practical than Duplicate. The operator needs access to playlists, Bible passages, media controls, or upcoming slides without showing them to the audience.
A dependable dual screen presentation setup should keep five points consistent:
the operator screen is set as the main display;
the audience screen uses its correct native or recommended resolution;
Windows is configured to Extend;
presentation output opens only on the second display;
audio routing is tested if HDMI also carries sound.
Browser-based tools such as WorshipScreen should be tested in the actual browser and on the presentation computer before the service. The live-output window should be moved to the external screen and checked in full-screen mode.
Final Tips for Using Dual Screens on Windows
The safest way to learn how to set up dual monitors on Windows for presentations is to configure the system before the room is occupied. Connect both displays, select Extend, arrange them correctly, choose the main display, and run the actual presentation from beginning to end.
For a repeatable Windows second monitor setup, keep the same cables, adapters, ports, display order, and resolution whenever possible. Label permanent HDMI connections if several inputs are available.
A well-tested Windows multiple displays configuration allows the presenter or operator to concentrate on timing and content rather than screen management. Once the hardware connection and Windows settings are stable, two screens for presentations become a straightforward way to separate private controls from a clean audience view.